

You'll need 2 trucks (including 4 speedrings), a set of wheels (4 pieces), 8 ball bearings, 2 shockpads, 4 spacers, 8 screws with nuts, grip tape, and a deck. Now that you have all the parts, it's time to start assembling!


How To: Longboard assembly
There are several ways to put everything together. We’ll start with the drop-through assembly of an axle: Loosen the kingpin nut and remove the hanger from the baseplate.
Now insert 4 screws through the top of the baseplate to secure the shockpad underneath. Next, take the baseplate with the screws (and the shockpad attached) and insert it through the truck holes on the top of your deck [> Fig. 01].
Place the 4 nuts on the screws and tighten them by hand. Use your tool and a Phillips or Allen screwdriver to hold the parts in place while you tighten the nuts. Finally, reinsert the hanger, including the bushings and washer, into the baseplate and secure it with the kingpin nut [> Fig. 02]. Done!
Assembly for a topmount deck
With a topmount deck, it’s much easier. You thread the screws through the top of your deck, the shockpad, and the baseplate on the bottom, then tighten them with the tool.
During any assembly, make sure your screws are tight and make contact with at least the plastic ring on the nut. So the trucks are already on the board; now all you need are the wheels to complete your setup.
Assembling wheels and bearings
Each wheel requires two ball bearings. There are various ways to install the bearings into the rollers. Here’s a simple trick:
- Remove the axle pin nut and place the speed ring, ball bearing (shield facing down, unless both sides are identical), spacer, and ball bearing (shield facing down) onto the axle pin in that order.
- Take your wheel and press it firmly onto the top ball bearing with the printed side (outer side) facing down [> Fig. 03].
- Now remove the wheel again and flip it over. The print should now be facing you.
- Press the wheel onto the bottom ball bearing over the spacer.
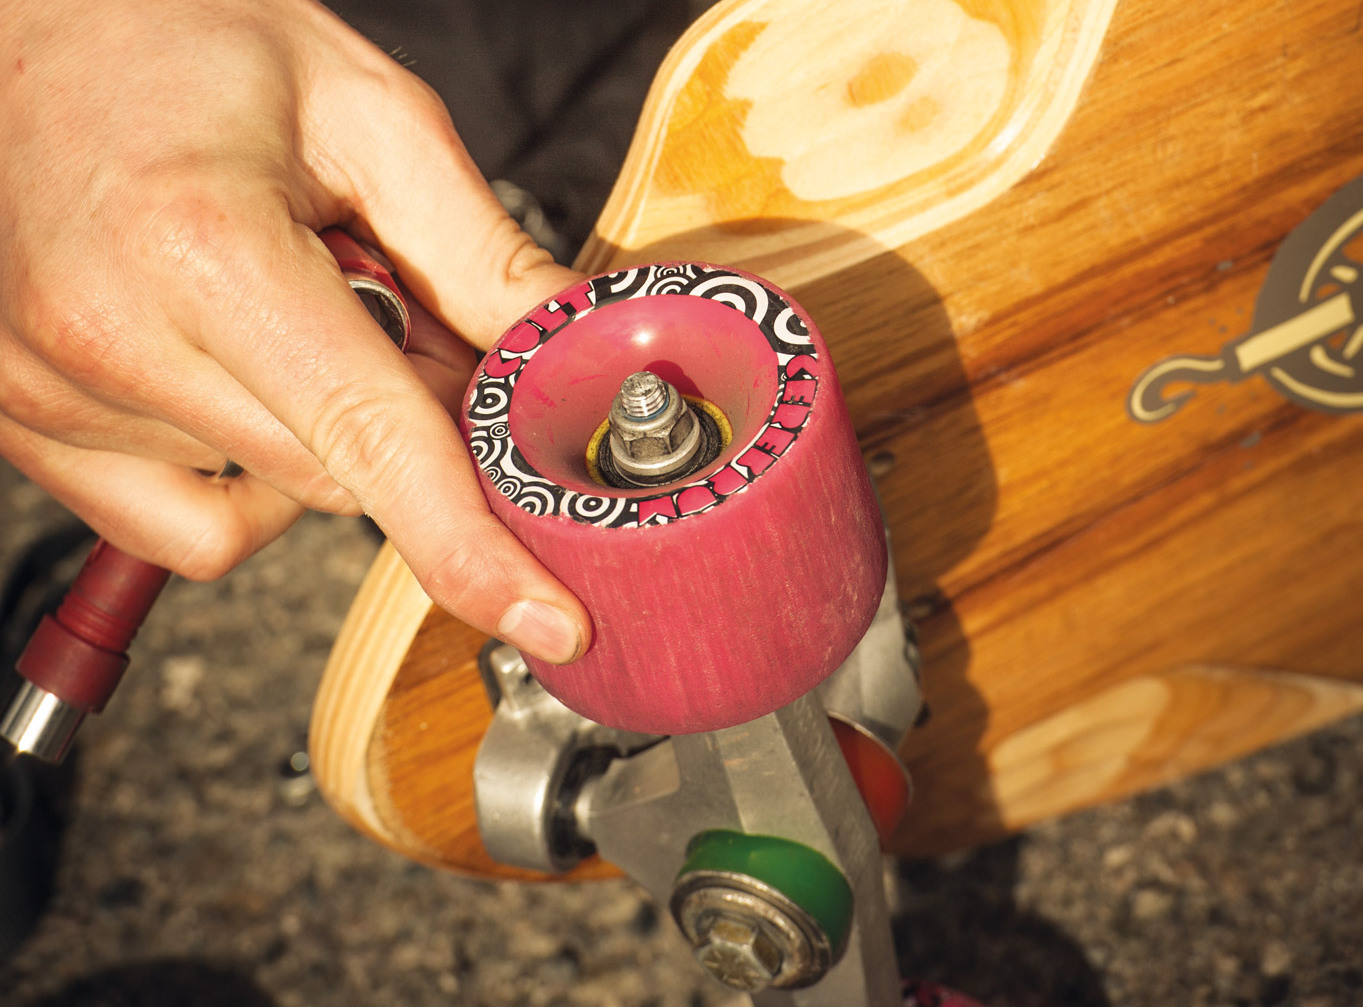
- Your ball bearings are now in the roller. Place the speed ring on top, tighten the nut again, and you’re good to go!
Oh, and the rollers should never be too loose. We therefore recommend always using a spacer between the bearings, as this allows you to tighten the nut properly without damaging the ball bearings.